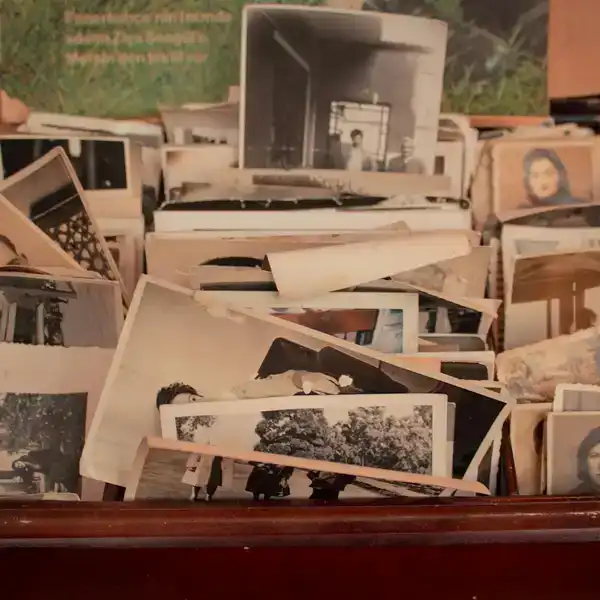
Old family photos hold a treasure trove of memories, but over time, they can deteriorate, losing their vibrancy and detail. Fortunately, there are effective ways to rescue, repair, and revive these precious images. Whether you choose to use professional services or take a DIY approach, preserving these memories is within reach. Here’s a comprehensive guide to help you breathe new life into your old photographs.
Step 1: Scanning with a Physical Scanner
If you have a multifunction printer with scanning capabilities, it can be a great starting point. Check your device’s manual for instructions if you haven’t used it for scanning before. For those without a scanner, consider investing in a reliable model. Scanning slides and negatives requires a scanner with backlighting capabilities, such as the Kodak Scanza or Epson Perfection V600 Photo Scanner. These devices are specifically designed to handle various formats, including prints, slides, and negatives. If you have a flatbed scanner without a transparency adapter, you can create a DIY adapter using templates available online.
Step 2: Using Mobile Devices for Scanning
For a quick and convenient alternative, mobile apps can transform your smartphone or tablet into a scanner. While the quality might not match that of a dedicated scanner, apps like Google PhotoScan and Photomyne offer a practical solution for digitizing photos. These apps are available for both Android and iOS and can enhance color and contrast. For iOS users, the Photo Scanner app is another viable option. General scanning apps like Microsoft Office Lens can also be used for photos. Capturing slides and negatives is more challenging due to their size and need for backlighting, but apps like Helmut Film Scanner for Android and FilmLab for iOS can help.
Step 3: Choosing Photo-Repair Software
Once your photos are digitized, the next step is to repair and enhance them using photo-editing software. Basic editing tools are available in free apps like Apple Photos, Google Photos, and Microsoft Photos. For more advanced editing, consider Adobe Photoshop Elements or Adobe Photoshop Express. GIMP, an open-source program, offers powerful editing capabilities for free, though it may require some time to learn.
Step 4: Restoring Your Photos
With your chosen software, you can begin the restoration process:
- Use tools like the "healing brush," "spot fix," or "clone stamp" to repair scratches, rips, and tears by replicating nearby pixels.
- Enhance your photos automatically or manually adjust contrast and color balance using sliders.
- Crop out unwanted backgrounds and frayed edges to focus on the main subject.
For detailed guidance, refer to your software’s help section or explore online tutorials and video guides.
Step 5: Sharing and Preserving Your Restored Photos
After restoring your photos, share them with family members through online platforms like Google Photos, iCloud, or OneDrive. These services allow easy access and downloading, while also protecting your images from physical damage. To ensure longevity, consider printing your favorite photos on acid-free archival paper. Many photo-printing services offer the option to create photo books, providing a beautiful way to compile and present your restored images as a cherished family keepsake.